
Learn the basics of how to assemble and decorate a layer cake with this detailed post as your guide. I follow the same steps whether I’m making a 2-layer, 3-layer, or 4-layer cake, and whether it’s a 6-inch cake or a 9-inch cake. Watch the video tutorial to see me demonstrate every step.

Pictured here is my 3-layer 9-inch vanilla cake with vanilla buttercream.
I know making layer cakes can seem intimidating, so today I’m helping to make the process a little easier for you. Bookmark this how to assemble a layer cake guide for any time you’re serving a layer cake, whether it’s a 3-layer carrot cake, 2-layer chocolate cake, or smaller 6-inch cake.
Let’s dive right in.
How to Assemble a Layer Cake Video

Helpful Tools for Assembling Layer Cakes
See this post on 10 essential cake baking and decorating tools for more.

Step 1: Level the Cake Layers
It’s important your cake layers are level, so your layer cake has stability. Make sure the cakes are completely cool before you level them. You can use a tool called a cake leveler, but I usually just use a serrated knife. Slice off the domed top so the top is flat. You can discard the bit you sliced off, or crumble it up and use it as garnish on top or around the cake. (Or enjoy the cake crumbles over ice cream—my favorite!)

Step 2: Stacking
Decide on the frosting you want to use for your cake. Most of my layer cake recipes include the frosting recipe you’ll need for the cake. American buttercream or Swiss meringue buttercream are my 2 top choices for layer cakes. If using cream cheese frosting, I find it helpful to refrigerate it for at least 1 hour before using, since it isn’t as sturdy and stable as buttercream.
A cake turntable makes it easier to frost the sides. I usually use about 3/4 to 1 cup of frosting between each cake layer. To spread it, use an offset spatula, straight icing spatula, or a regular knife. Spread the frosting all the way to the edges.
Place the second cake layer upside down. This creates a flat base for the top layer to sit on. (If your cake is only 2 layers, you can place the 2nd (top) layer upside down OR right side up.) Check to make sure the cake layer is level all the way around. Then add another 3/4–1 cup of frosting on top, again spreading it to the edges.

Place the top layer on top. You can place it upside down again if you want your cake to have a very straight look on the sides and a perfectly flat top, but I usually place the top layer right-side-up, so that there’s a bit of a curve to the edges.

Step 3: Crumb Coat
This is a very thin layer of frosting applied to the top and sides of the cake, which helps lock in any loose crumbs and adds stability to the finished layer cake. It also makes a nice smooth base for frosting and decorating. Use about another cup of frosting (240g) for that. Start moving the frosting from the top down the sides. Go around the sides with a bench scraper—it’s a really handy tool that makes easy work of smoothing out the sides. Refrigerate for 20 minutes to an hour to set the crumb coat.

Step 4: Finishing & Decorating
Once your crumb coat has set, you can finish the cake with a thicker layer of frosting. I recommend a straight spatula for this. You can use your bench scraper again for smooth sides, but I like a little texture.

If you used a cake turntable and want to transfer your cake to a serving platter or cake stand, it’s helpful to have a cake lifter tool and a second set of hands.
If you have extra frosting, you can use a piping bag and tip and add some decoration. Here I used the Wilton 1M tip to pipe a shell border around the top and bottom of the cake.

When it comes to cake decorating, I like to keep things simple. As much as I admire all those cake artists out there and marvel at their creations, I accept that cake artistry is simply not in my skill set! BUT there are ways you can make a beautiful layer cake, even if you lack artistic skill.
Take this rustic-chic naked cake, for example. Garnishing with fresh florals and berries adds simple, sophisticated elegance—no piping tips, fondant, or modeling chocolate required.
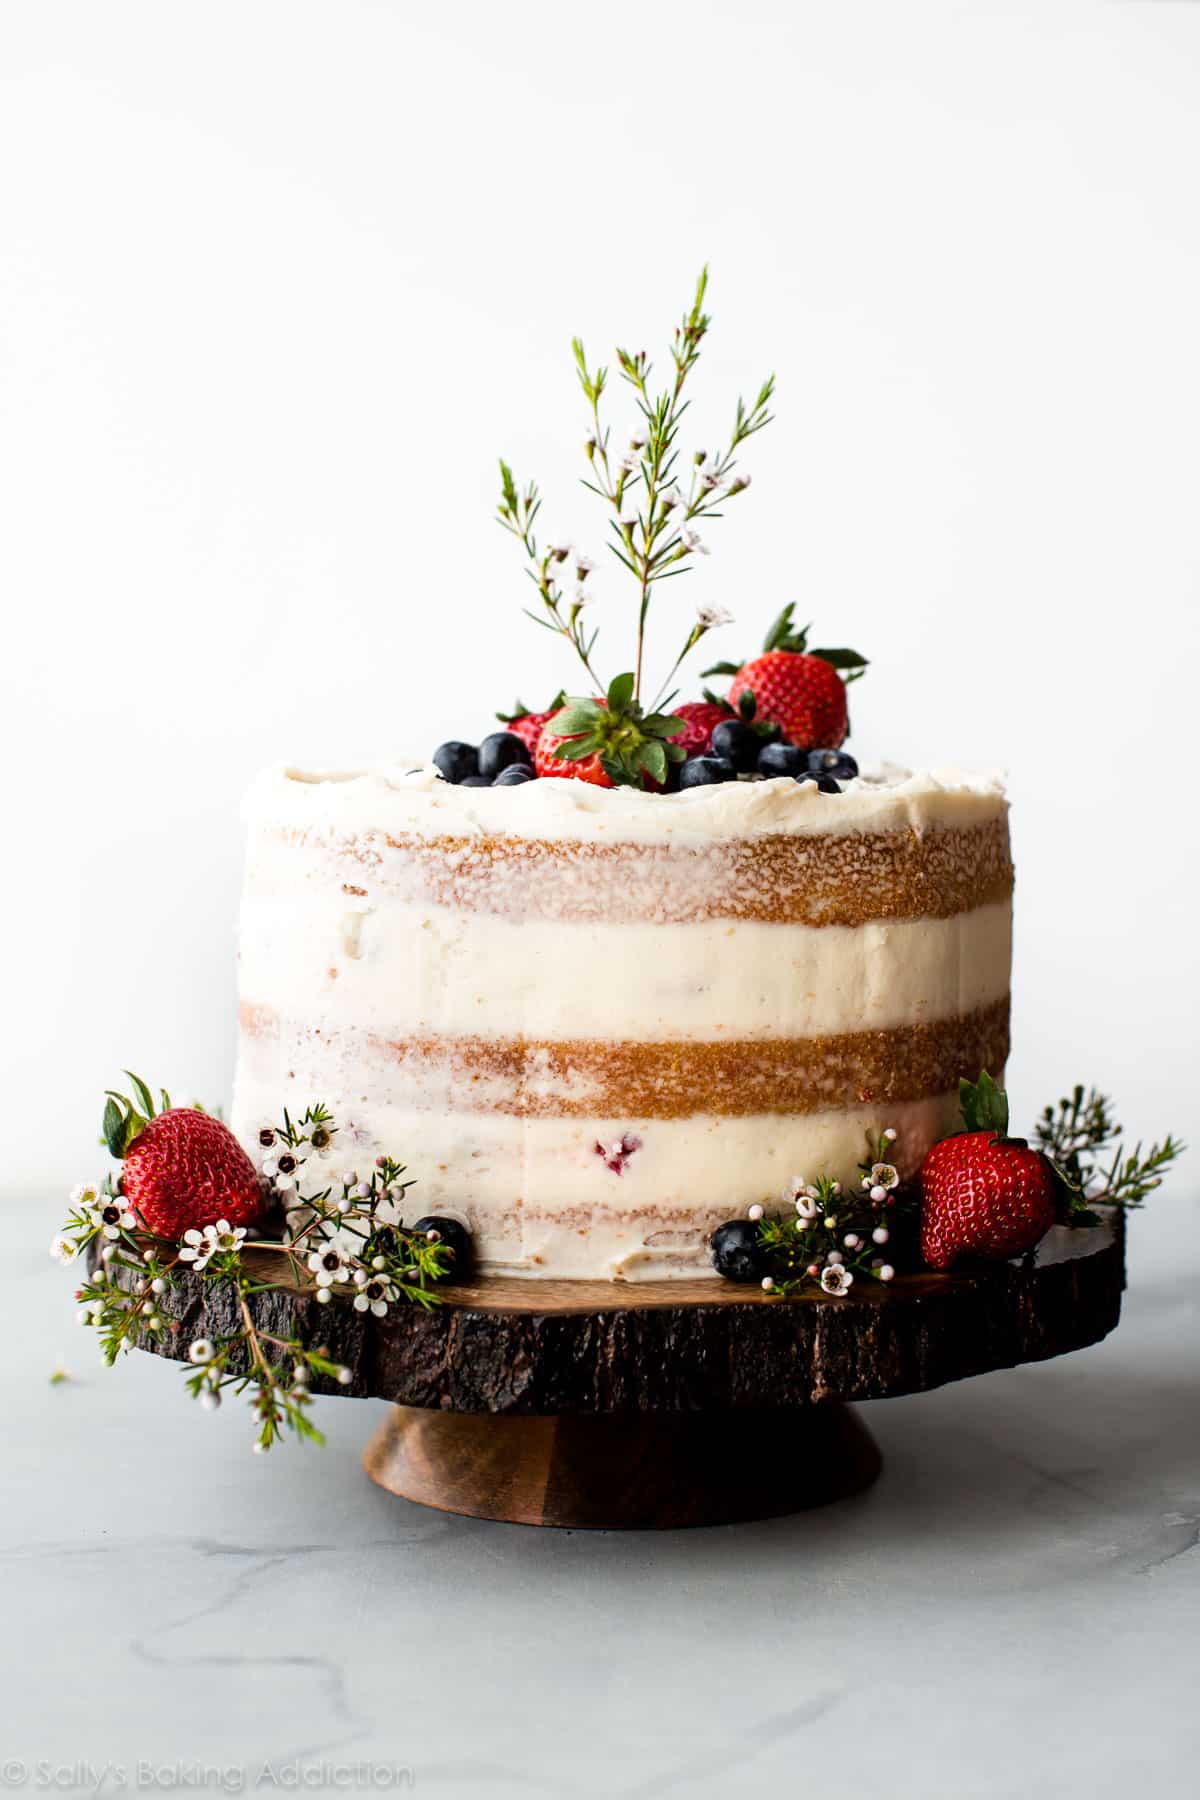
A simple garnish of fresh berries and mint is one of my favorite ways to garnish a cake, because it’s so EASY, yet takes the cake to the next level.
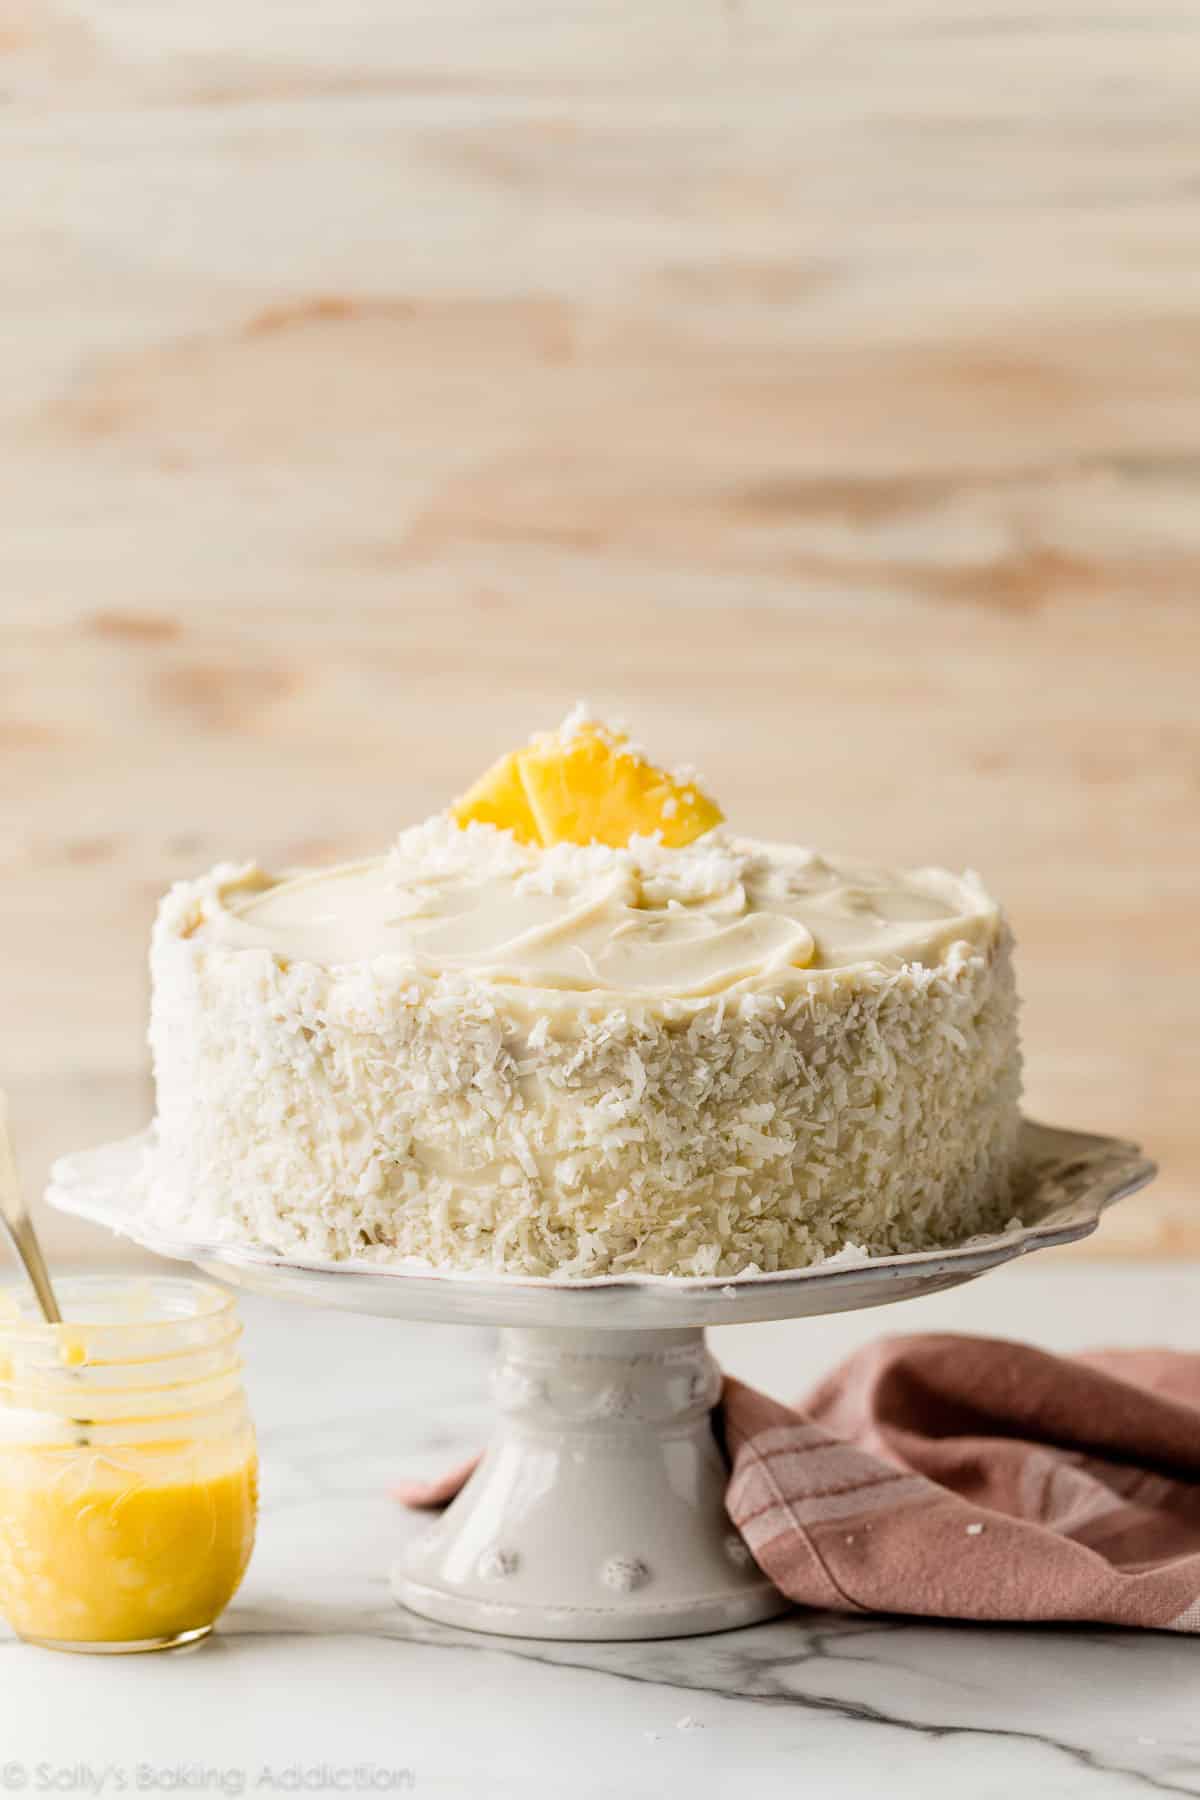
You can also garnish with an ingredient used in the cake, such as toasted nuts on top of this carrot cake, or coconut and fresh pineapple on top of this pineapple coconut cake.
More Cake Baking & Decorating Tutorials
PrintDescription
Learn the basics of how to assemble and decorate a layer cake with this detailed guide. I follow the same steps whether I’m making a 2-layer, 3-layer, or 4-layer cake, and whether it’s a 6-inch cake or a 9-inch cake. Watch the video tutorial to see me demonstrate every step.
- Level the Cake Layers: It’s important your cake layers are level, so your layer cake has stability. Make sure the cakes are completely cool before you level them. You can use a tool called a cake leveler or use a serrated knife. Slice off the domed top of your cakes so the top is flat. You can discard the bit you sliced off, or crumble it up and use it as garnish on top or around the cake. (Or enjoy the cake crumbles over ice cream—my favorite!)
- Stack the Layers: Place the bottom layer right side up on a cake turntable or cake stand. Place 3/4 to 1 cup of frosting (anywhere between 180–240g) on top. Using an offset spatula, straight spatula, or a regular knife, spread the frosting all the way to the edges of the cake. Place the second cake layer upside down evenly on top, which creates a flat base for the top layer to sit on. (*See end of this step if you are making a 2-layer cake.) Check to make sure it’s level all the way around. Then add another 3/4–1 cup of frosting (180–240g) on top, again spreading it to the edges. Place the top layer on top. You can place it upside down again if you want your cake to have a very straight look on the sides and a perfectly flat top, or you can place it right side up to have a bit of a rounded edge. *If your cake is only 2 layers, the 2nd/top layer can be upside down or right side up, depending if you want a straight edge or rounded edge on top of your cake.
- Add the Crumb Coat: A crumb coat is an extremely thin layer of frosting applied to the top and sides of the cake, which helps lock in any loose crumbs and adds stability to the finished layer cake. For a 3-layer cake, use about 1 cup of frosting (240g) for it. For a 2-layer cake, around 3/4 cup (180g). Spread it all over the top and sides. To smooth out the sides, run a bench scraper around the cake. Refrigerate uncovered for 20 minutes to 1 hour to set the crumb coat.
- Finish Decorating the Cake: Once your crumb coat has set, finish the cake with a thicker layer of frosting using a straight icing spatula. You can use your bench scraper again for smooth sides, or keep the sides textured as shown in the video. If you used a cake turntable and want to transfer your cake to a serving platter or cake stand, it’s helpful to have a cake lifter tool and a second set of hands to lift and transfer it. If you have some extra frosting, you can fill a piping bag and add some decoration. Here I used the Wilton 1M tip to pipe a shell border around the top and bottom of the cake.
- When you have finished decorating your cake, it’s best to refrigerate it uncovered for at least 20 minutes before slicing and serving. Depending on the cake, you can refrigerate it for up to 4 to 6 hours. To store leftover cake or if you plan to transport the cake, I recommend a cake carrier because it keeps the cake fresh without touching or smearing the frosting.
Notes
- Special Tools (affiliate links): Serrated Knife or Cake Leveler Tool | Cake Turntable | Silicone Spatula | Small Offset Spatula | Large Straight Spatula | Bench Scraper | Cake Lifter | Cake Stand (like this one or this one) | Piping Bag (Reusable or Disposable) | Wilton 1M Piping Tip | Cake Carrier
- Amount of Frosting: In general, for an 8-inch or 9-inch round cake, you’ll use 3/4–1 cup (180–240g) of frosting between each cake layer, plus another 3/4–1 cup for the crumb coat. After that, the amount of frosting depends on how thick you want the exterior layer and if you’ll want to add piping details to the cake. I usually use 4.5 cups (1080g) on a 2-layer 8- or 9-inch cake, and 5–6 cups (1200–1440g) on a 3-layer 8- or 9-inch cake. For a 3-layer 6-inch cake, use about 1/2 cup (120g) of frosting between each layer, 1/2 cup for the crumb coat (give or take), and 1–1.5 cups around the top and sides to finish (3.5–4 cups (840–960g total).
Source link
